Easy Stained Glass Cookies
Highlighted under: Artisan Bakes
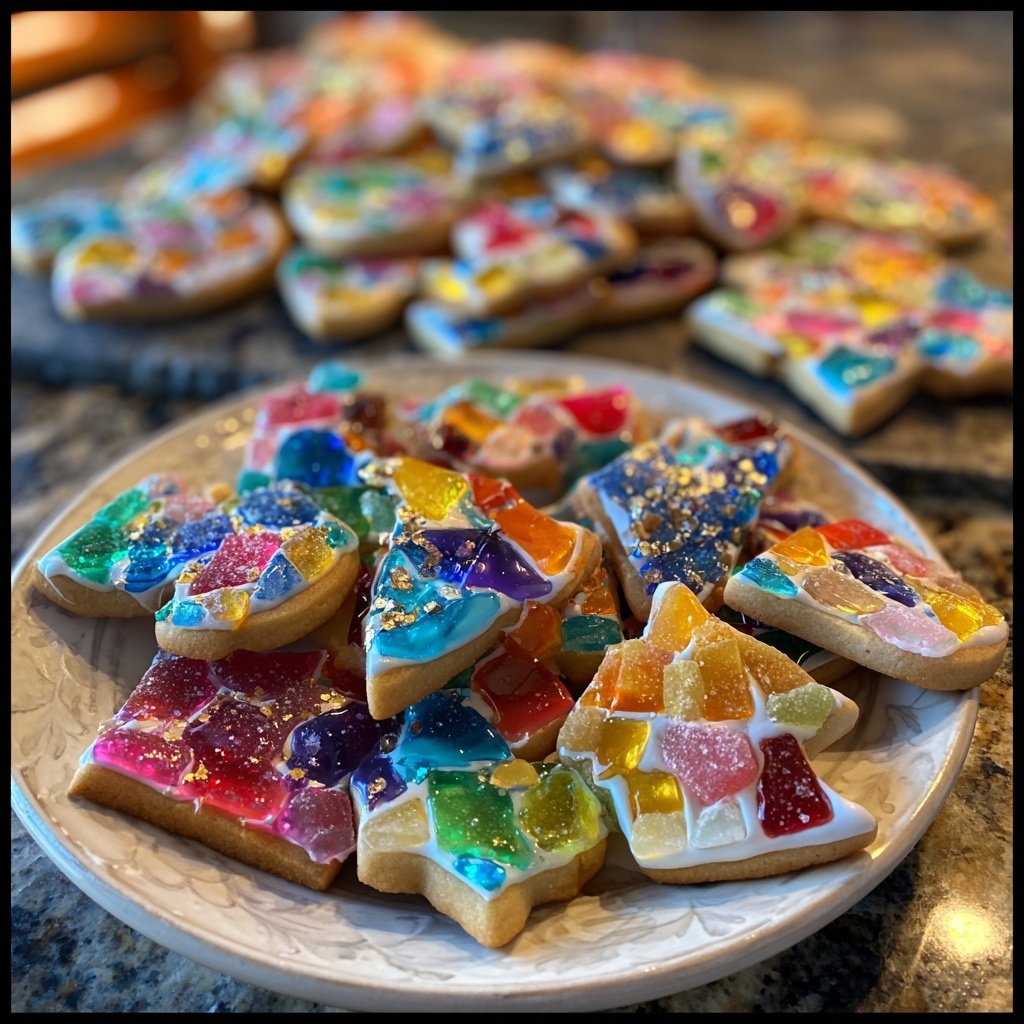
These vibrant and whimsical stained glass cookies are a delightful treat that not only taste great but also look stunning. Perfect for any celebration or holiday!
Stained glass cookies bring a nostalgic charm to any gathering. Their colorful candy centers and buttery cookie base make them a favorite among both kids and adults. The best part? They are incredibly easy to make!

Why You'll Love These Cookies
- Vibrant colors that brighten any occasion
- Easy to customize with your favorite candies
- A fun baking project for kids and adults alike
The Perfect Treat for Any Occasion
Stained glass cookies are not just a feast for the eyes; they are an enjoyable treat that brings joy to any celebration. Whether you're hosting a birthday party, holiday gathering, or just a cozy family get-together, these cookies are sure to impress. Their vibrant colors and unique designs make them an excellent choice for themed events, especially during festive seasons like Christmas or Halloween.
These cookies are versatile and can be customized to fit any occasion. By choosing different shapes and colors of hard candies, you can create cookies that reflect the theme of your event. From hearts for Valentine's Day to spooky shapes for Halloween, the possibilities are endless. Your guests will not only marvel at their appearance but will also relish the delightful crunch of the candy centers.
A Fun Activity for All Ages
Baking stained glass cookies is a fantastic activity for both kids and adults. It provides an opportunity to bond in the kitchen while unleashing creativity. Children will love rolling out the dough, cutting out shapes, and filling them with colorful candies. This hands-on experience can help improve their motor skills and inspire a love for baking that lasts a lifetime.
For adults, this cookie project can serve as a delightful break from routine. Invite friends over for a cookie-decorating party, complete with music and snacks. You can share tips, swap candy ideas, and even create a friendly competition to see who can make the most artistic cookie design. It's not just about baking; it's about creating lasting memories.
Tips for Success
To achieve the best results with your stained glass cookies, make sure to properly chill your dough before cutting it out. This step is crucial as it helps the cookies maintain their shape during baking. If the dough becomes too soft while rolling out, simply place it back in the refrigerator for a few minutes until it firms up again.
When selecting hard candies for the centers, opt for clear or light-colored varieties to allow the colors to shine through when baked. Avoid dark-colored candies, as they may not produce the desired stained glass effect. Lastly, be mindful of the baking time; you want the edges to be golden while ensuring the candy doesn't overcook and become too hard.
Ingredients
Ingredients
For the Cookie Dough
- 2 3/4 cups all-purpose flour
- 1 teaspoon baking powder
- 1/2 teaspoon salt
- 1 cup unsalted butter, softened
- 1 1/4 cups granulated sugar
- 1 egg
- 1 teaspoon vanilla extract
For the Candy Centers
- 1 cup crushed hard candies (such as Jolly Ranchers or Life Savers)
Instructions
Instructions
Prepare the Dough
In a bowl, whisk together the flour, baking powder, and salt. In a separate bowl, cream the butter and sugar until light and fluffy. Beat in the egg and vanilla extract. Gradually mix in the dry ingredients until combined.
Chill the Dough
Wrap the dough in plastic wrap and refrigerate for at least 1 hour for easier handling.
Cut the Cookies
Preheat your oven to 350°F (175°C). Roll out the chilled dough on a floured surface to about 1/4 inch thickness. Use cookie cutters to cut out shapes, and remove the centers using a smaller cookie cutter or knife.
Fill with Candy
Place the cookie shapes on a baking sheet lined with parchment paper. Fill the center cutouts with crushed candies.
Bake the Cookies
Bake in the preheated oven for 8-10 minutes or until the edges are lightly golden. Allow to cool on the baking sheet for a few minutes before transferring to a wire rack to cool completely.
Pro Tips
- Experiment with different candy colors and shapes for a fun twist on these cookies!
Storing Your Stained Glass Cookies
Proper storage is key to keeping your stained glass cookies fresh and flavorful. Once fully cooled, store them in an airtight container at room temperature. They can last up to a week, but be sure to keep them away from direct sunlight to prevent the candies from melting.
If you want to extend their shelf life, consider freezing your cookies. Place them in a single layer on a baking sheet and freeze for about an hour. Then transfer the cookies to an airtight container or freezer bag, separating layers with parchment paper. They can be frozen for up to three months, allowing you to enjoy delicious cookies at a moment's notice.
Variations to Try
While the classic stained glass cookie design is delightful, don't be afraid to experiment with flavors and shapes. You can add citrus zest or spices like cinnamon or nutmeg to the dough for an extra layer of flavor. Additionally, try using flavored hard candies, such as sour varieties, to create a unique taste sensation.
For a healthier twist, consider incorporating whole wheat flour or using natural sweeteners like honey or maple syrup in place of granulated sugar. With these adjustments, you can create a more wholesome version of these whimsical treats without losing the fun factor.
Questions About Recipes
→ Can I use different types of candy?
Yes, you can use any hard candy that melts well, such as butterscotch or peppermint.
→ How should I store these cookies?
Store them in an airtight container at room temperature for up to a week.
→ Can I freeze the dough?
Absolutely! You can freeze the dough for up to 3 months. Thaw it in the refrigerator before rolling it out.
→ What can I do if the candy doesn't melt properly?
Make sure to crush the candies into small pieces and avoid overbaking the cookies, as this can affect the melting.
Easy Stained Glass Cookies
What You'll Need
For the Cookie Dough
- 2 3/4 cups all-purpose flour
- 1 teaspoon baking powder
- 1/2 teaspoon salt
- 1 cup unsalted butter, softened
- 1 1/4 cups granulated sugar
- 1 egg
- 1 teaspoon vanilla extract
For the Candy Centers
- 1 cup crushed hard candies (such as Jolly Ranchers or Life Savers)
How-To Steps
In a bowl, whisk together the flour, baking powder, and salt. In a separate bowl, cream the butter and sugar until light and fluffy. Beat in the egg and vanilla extract. Gradually mix in the dry ingredients until combined.
Wrap the dough in plastic wrap and refrigerate for at least 1 hour for easier handling.
Preheat your oven to 350°F (175°C). Roll out the chilled dough on a floured surface to about 1/4 inch thickness. Use cookie cutters to cut out shapes, and remove the centers using a smaller cookie cutter or knife.
Place the cookie shapes on a baking sheet lined with parchment paper. Fill the center cutouts with crushed candies.
Bake in the preheated oven for 8-10 minutes or until the edges are lightly golden. Allow to cool on the baking sheet for a few minutes before transferring to a wire rack to cool completely.
Extra Tips
- Experiment with different candy colors and shapes for a fun twist on these cookies!
Nutritional Breakdown (Per Serving)
- Calories: 120 kcal
- Total Fat: 6g
- Saturated Fat: 4g
- Cholesterol: 30mg
- Sodium: 50mg
- Total Carbohydrates: 15g
- Dietary Fiber: 0g
- Sugars: 8g
- Protein: 1g