Easy Stained Glass Cookies
Highlighted under: Artisan Bakes
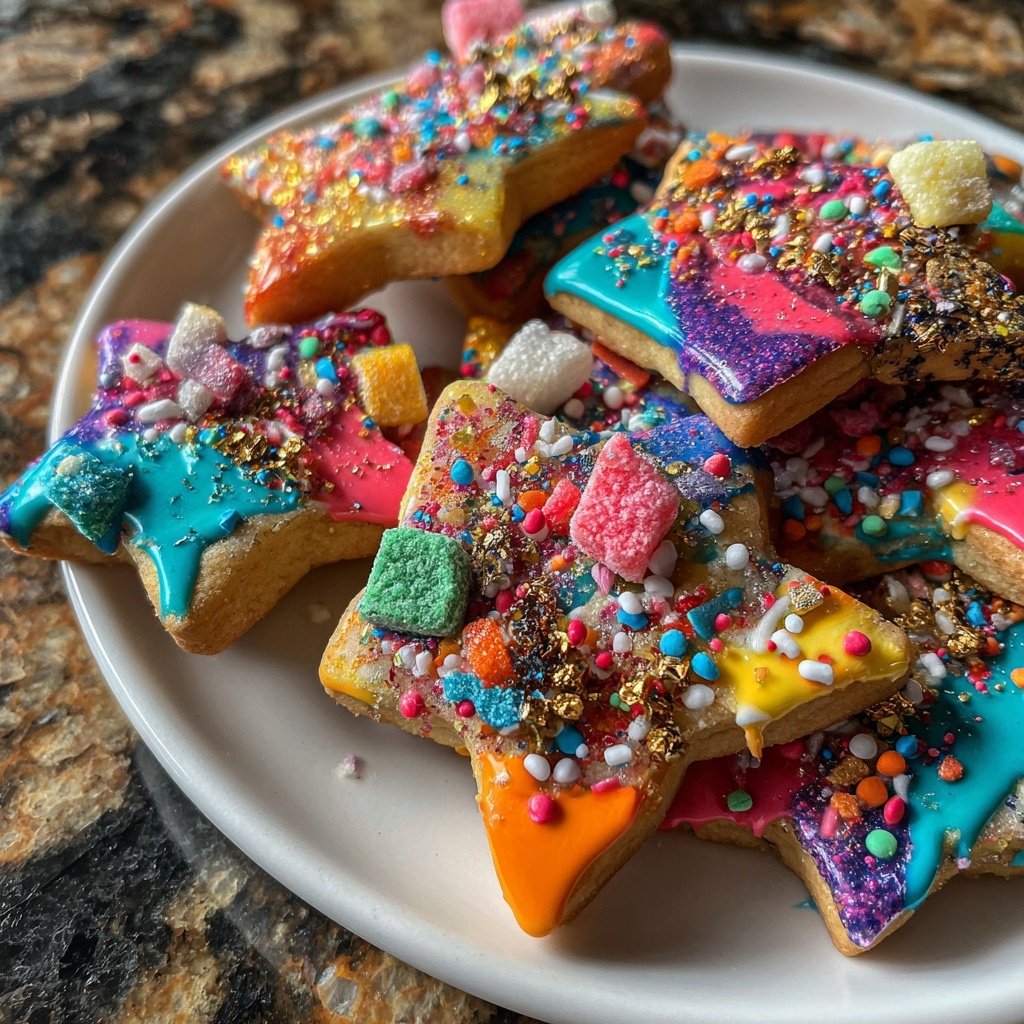
These vibrant and delightful Easy Stained Glass Cookies are a fun and festive treat for any occasion!
These Easy Stained Glass Cookies are not only a visual treat but also a deliciously sweet addition to your holiday cookie platter. The colorful centers and buttery edges make them a favorite among kids and adults alike!
Why You Will Love These Cookies
- Vibrant colors that brighten up any dessert table
- A fun baking activity for kids and families
- Buttery flavor with a delightful crunch
- Perfect for gifting or holiday celebrations
The Art of Stained Glass Cookies
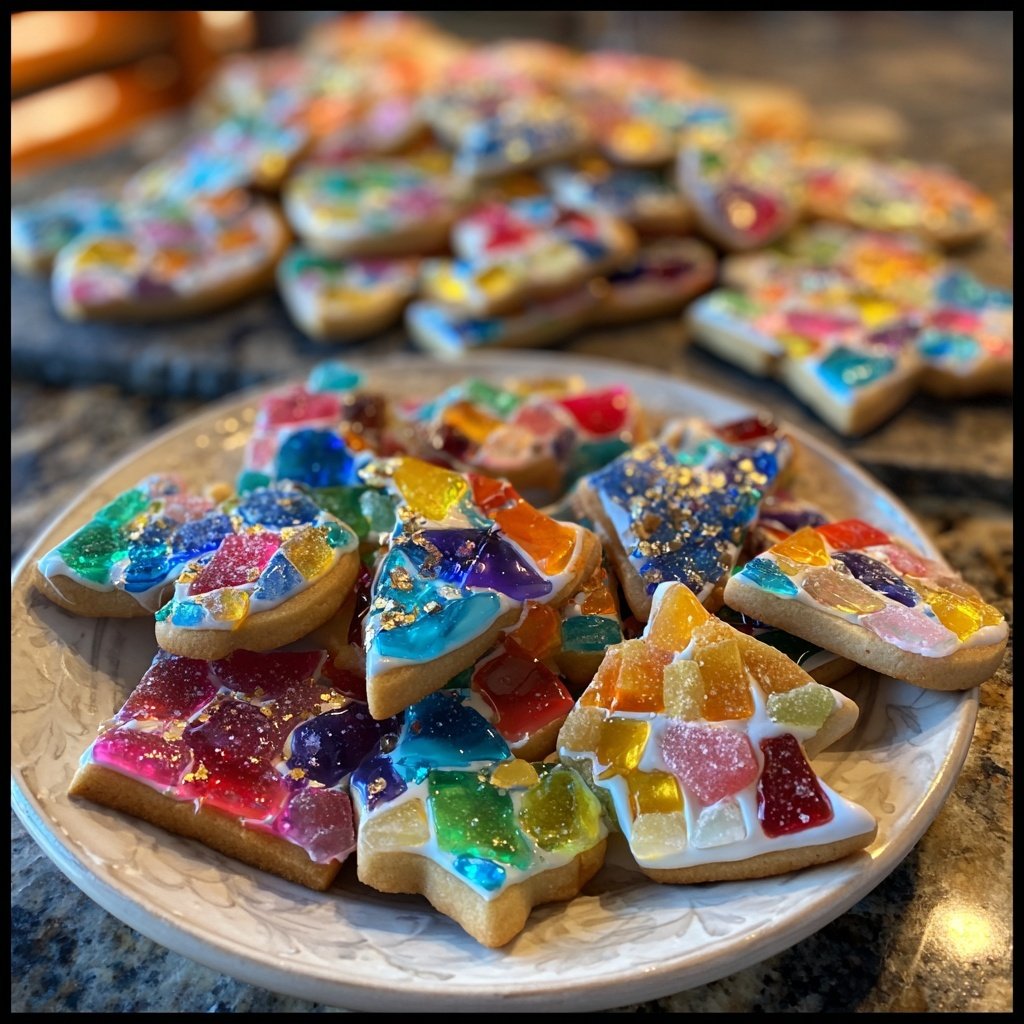
Stained glass cookies are not just a treat; they are a canvas for creativity! The colorful candy melted within the cookie creates a stunning visual effect that captures the essence of stained glass windows. Each cookie is unique, showcasing a mix of colors and patterns that can brighten any dessert table. As you experiment with different cookie shapes and candy combinations, you'll find that the possibilities are endless, making these cookies a favorite for both bakers and eaters alike.
Beyond their beauty, these cookies provide an engaging baking experience. Kids and adults can join in the fun of rolling out dough and choosing their favorite candy colors. This interactive aspect makes stained glass cookies a perfect activity for family gatherings or holiday celebrations. The laughter and joy shared during the baking process add to the overall enjoyment, creating cherished memories that last far beyond the last bite.
Tips for Perfect Stained Glass Cookies
To achieve the best results with your stained glass cookies, ensure that your dough is well-chilled before cutting and baking. Chilling the dough helps maintain the shape of the cookies and prevents them from spreading too much in the oven. A good rule of thumb is to chill for at least an hour; however, if you have time, letting it sit overnight can enhance the flavor and texture even more.
When it comes to choosing the candy for the stained glass effect, hard candies like Jolly Ranchers or Life Savers work perfectly. Crush them into small pieces, but be careful not to make them too fine, as larger chunks will create a more vibrant stained glass effect. Additionally, experiment with different colors and flavors to create visually stunning and delicious cookies that suit any occasion.
Storage and Gifting Ideas
Once your stained glass cookies have cooled completely, it's essential to store them properly to maintain their freshness and visual appeal. Keep them in an airtight container at room temperature for up to a week. If you want to preserve their crunch, consider placing a piece of bread in the container to absorb moisture, which can help keep the cookies crisp.
These cookies also make wonderful gifts! Package them in clear cellophane bags tied with colorful ribbons for a delightful presentation. They are perfect for holiday gifting, school bake sales, or as thoughtful treats for friends and family. Whether enjoyed at home or shared with loved ones, stained glass cookies are sure to spread joy and sweetness wherever they go.
Ingredients
For the Cookies
- 2 3/4 cups all-purpose flour
- 1 teaspoon baking powder
- 1 cup unsalted butter, softened
- 1 cup granulated sugar
- 1 large egg
- 1 teaspoon vanilla extract
- 1/2 teaspoon salt
- 1 cup crushed hard candies (various colors)
Make sure to crush the candies into small pieces for the best stained glass effect!
Instructions
Prepare the Dough
In a bowl, whisk together the flour and baking powder. In another bowl, cream the butter and sugar until light and fluffy. Beat in the egg and vanilla extract. Gradually add the flour mixture and salt, mixing until combined.
Chill the Dough
Divide the dough into two portions, wrap in plastic wrap, and refrigerate for at least 1 hour.
Cut Out Cookies
Preheat your oven to 350°F (175°C). Roll out the dough on a floured surface to about 1/4 inch thick. Use cookie cutters to cut out shapes, and use a smaller cutter to cut out the center for the stained glass effect.
Add Candy and Bake
Place the cutouts on a baking sheet lined with parchment paper. Fill the centers with crushed candies. Bake for 8-10 minutes or until the edges are lightly golden. Let cool completely on the baking sheet.
Once cooled, enjoy your stunning stained glass cookies!
Pro Tips
- For a more vibrant color, use a variety of candy colors. Ensure the candies are finely crushed for an even melt.
Nutritional Information
Understanding the nutritional content of your stained glass cookies can help you enjoy them more mindfully. Each cookie contains essential ingredients like butter, which provides a rich flavor, and eggs, which offer protein. However, it's important to note that these cookies are a treat and should be enjoyed in moderation. A single cookie may contain around 150-200 calories, depending on size and the amount of candy used.
If you're looking for a slightly healthier version, consider substituting some of the all-purpose flour with whole wheat flour or using natural sweeteners. While this may alter the texture slightly, it can add a nutritional boost without compromising too much on flavor. Remember, baking is all about balance, so make adjustments that suit your dietary needs and preferences.
Variations to Try
Feel free to get creative with your stained glass cookies! You can infuse different flavors by adding citrus zest, almond extract, or spices like cinnamon and nutmeg to the dough. These subtle additions can elevate your cookies to a new level of deliciousness. Additionally, consider using themed cookie cutters for special occasions, such as hearts for Valentine's Day or stars for Christmas.
For a twist on the traditional recipe, try using alternative candies for the center. Sour candies can create a delightful contrast to the sweet cookie, while chocolate pieces can add a rich flavor. No matter how you customize your stained glass cookies, the fun is in experimenting and making them your own!
Questions About Recipes
→ Can I use any type of hard candy?
Yes, you can use any type of hard candy, but clear ones work best for the stained glass effect.
→ How should I store these cookies?
Store them in an airtight container at room temperature for up to one week.
→ Can I freeze the cookie dough?
Yes, you can freeze the unbaked dough for up to 3 months. Just thaw in the fridge before rolling out.
→ What if my cookies spread too much?
Make sure to chill the dough thoroughly before baking to prevent excessive spreading.
Easy Stained Glass Cookies
What You'll Need
For the Cookies
- 2 3/4 cups all-purpose flour
- 1 teaspoon baking powder
- 1 cup unsalted butter, softened
- 1 cup granulated sugar
- 1 large egg
- 1 teaspoon vanilla extract
- 1/2 teaspoon salt
- 1 cup crushed hard candies (various colors)
How-To Steps
In a bowl, whisk together the flour and baking powder. In another bowl, cream the butter and sugar until light and fluffy. Beat in the egg and vanilla extract. Gradually add the flour mixture and salt, mixing until combined.
Divide the dough into two portions, wrap in plastic wrap, and refrigerate for at least 1 hour.
Preheat your oven to 350°F (175°C). Roll out the dough on a floured surface to about 1/4 inch thick. Use cookie cutters to cut out shapes, and use a smaller cutter to cut out the center for the stained glass effect.
Place the cutouts on a baking sheet lined with parchment paper. Fill the centers with crushed candies. Bake for 8-10 minutes or until the edges are lightly golden. Let cool completely on the baking sheet.
Extra Tips
- For a more vibrant color, use a variety of candy colors. Ensure the candies are finely crushed for an even melt.
Nutritional Breakdown (Per Serving)
- Calories: 120 kcal
- Total Fat: 6g
- Saturated Fat: 4g
- Cholesterol: 30mg
- Sodium: 50mg
- Total Carbohydrates: 16g
- Dietary Fiber: 0g
- Sugars: 8g
- Protein: 1g